As part of our digipak we had to produce an album cover, back and front. For this I had to take pictures. However instead I used pictures that we took from our photo shoot and from pictures that were taken through out our whole project to save on time and energy. Using these images I used them to put into my album cover and edited them to make it all look like one piece of work.

In order to make my album cover I had to use Adobe Photoshop CS. I then had to make sure that my dimensions for my album cover was correct. Then after this I started producing my album cover.
Photoshop allowed me to use many different effects such as gradient, text that was inserted, and also text effects such as inner shadow, outer glow, inner glow, bevel and emboss, satin and stroke. I got these effects by playing about with the effects tools and inserting effects that I thought looked best on my album cover. Most of these effects were new to me and undiscovered.
As well as this, I inserted and cropped images and used opacity adjustments, layer properties changed and I also used the feathering tool. There was the use of imaging transformation and rendering adjustments. Again, most of these effects were undiscovered and unknown to me and were only discovered through playing about with the different effects icons. All of these effects mentioned so far were used on my front album cover. 
As for my back cover, effects that were used includes mainly most of what I had used in my front of my album cover and also more text inserted, the cropping of images and inserting images, and then the imaging transformation, rendering adjustments and emboss tools. All these effects that I played about with contributed to the production of my album cover both back and front.


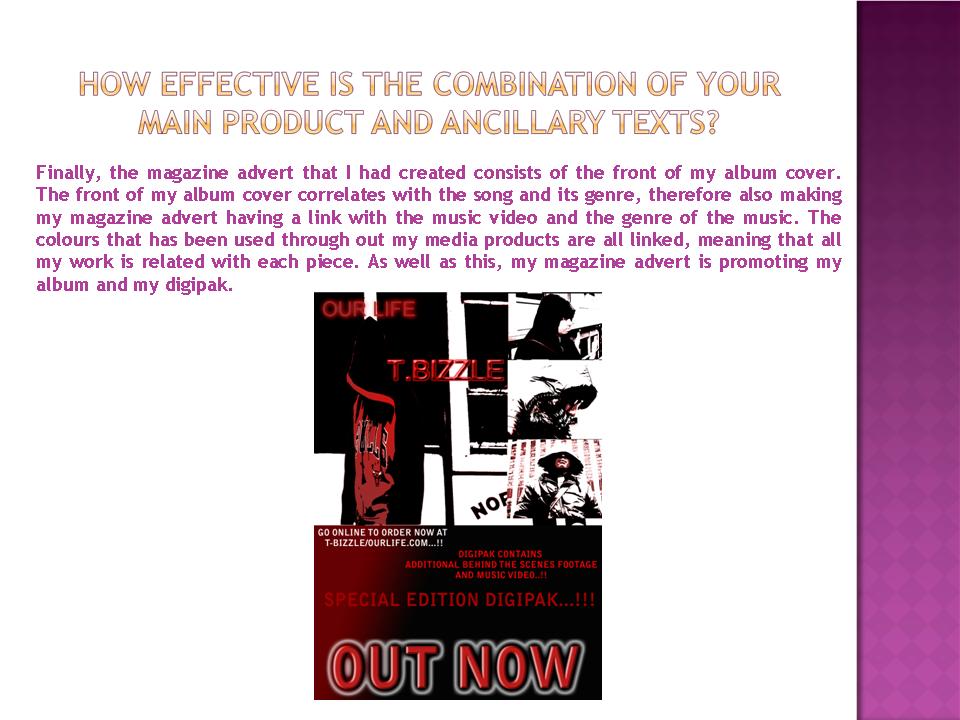


 This is my final album cover that was also created using Adobe Photoshop CS. All I did was insert the front of my album cover which was already in a jpeg format. I then fixed the dimensions to make sure it was A4 and was suitable for a magazine advert. After this I changed my background and added text. I also used special effects on my "OUT NOW" text.


